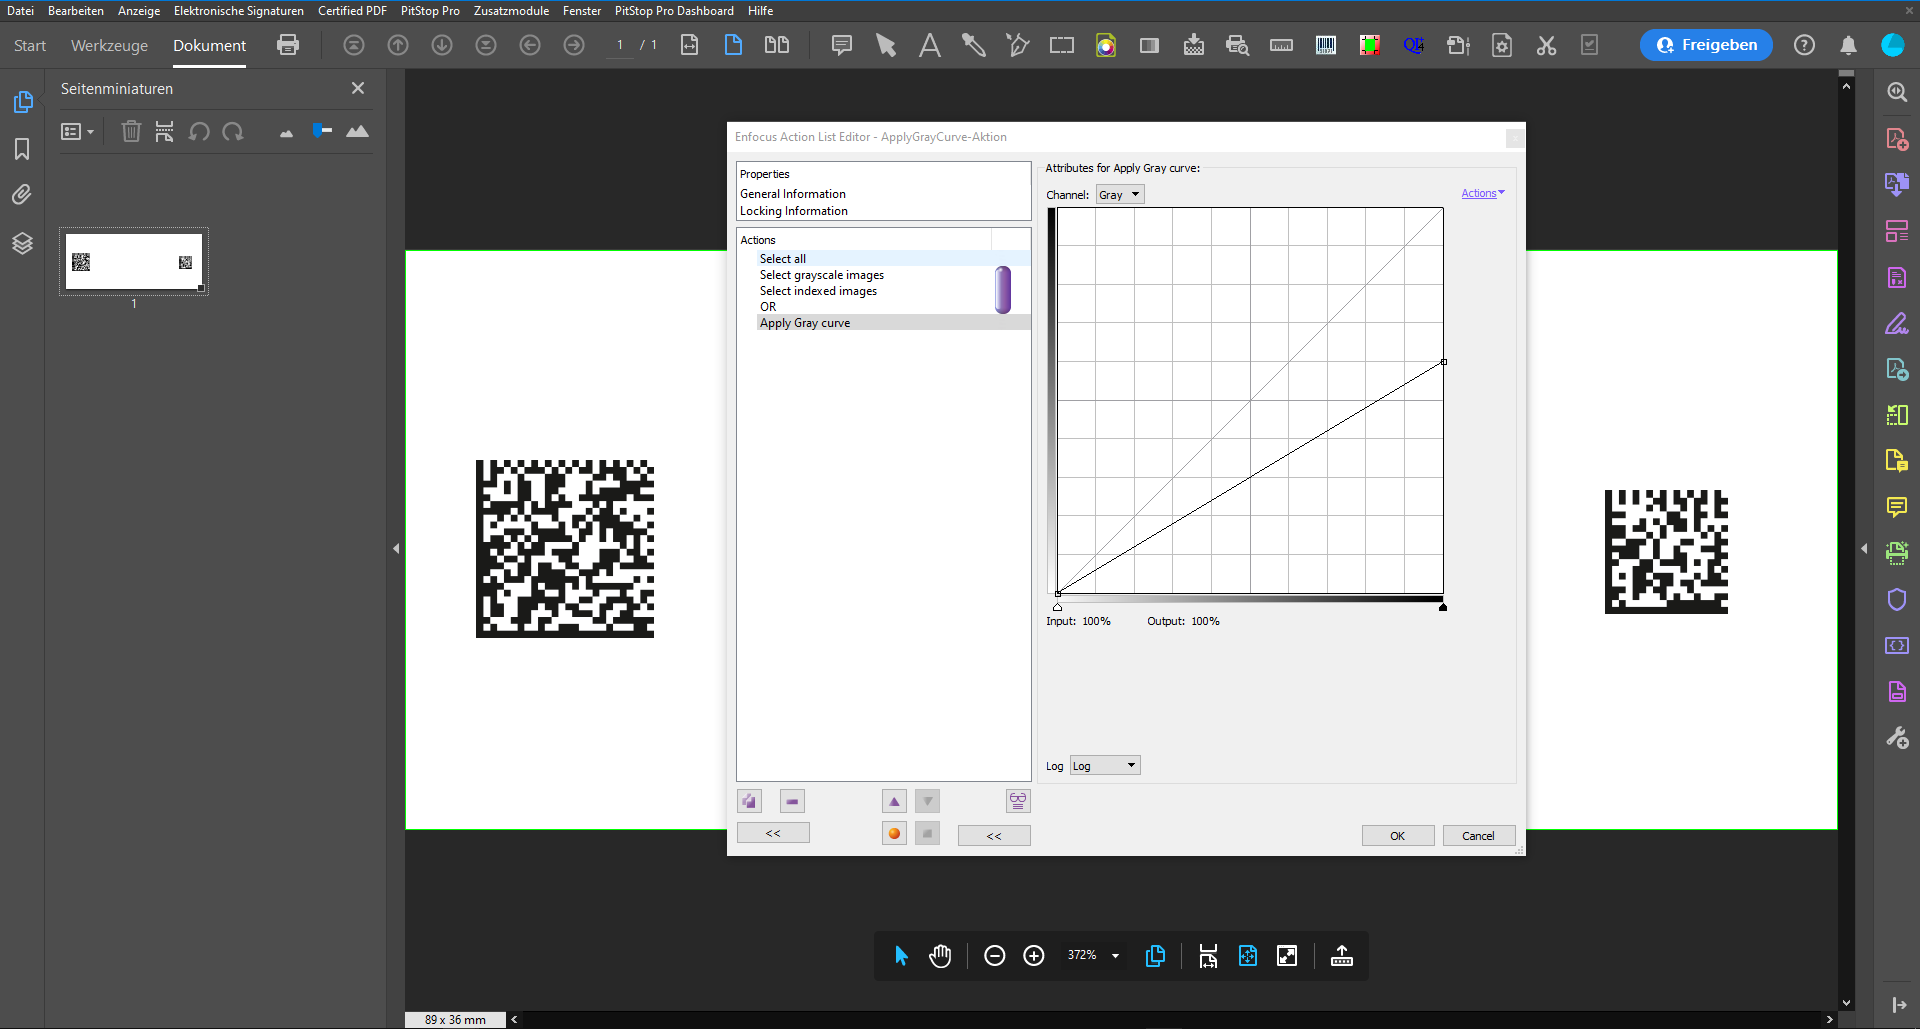
Using the Action List Visualiser you can follow along on the page, seeing which objects are selected.
If you do this you'll see that the "Select grayscale images" action does not select the image on the right. This is because it is a 1-bit image. However changing the select to include 1-bit images is not enough because the grey curve is not applied to 1-bit images.
Unfortunately I don't immediately see a way to convert the image to 8 bit, nor to get a curve to apply to the right image.
I did come up with a very dirty workaround: add a transparent object on top of the right image, then flatten transparency again. This will change the image bitness during flattening. If the object is fully transparent it will not change the colour. You can then convert it back to grey if necessary and apply the curve. Or you could make the transparent object white and only semi-transparent to get the result you want right away.
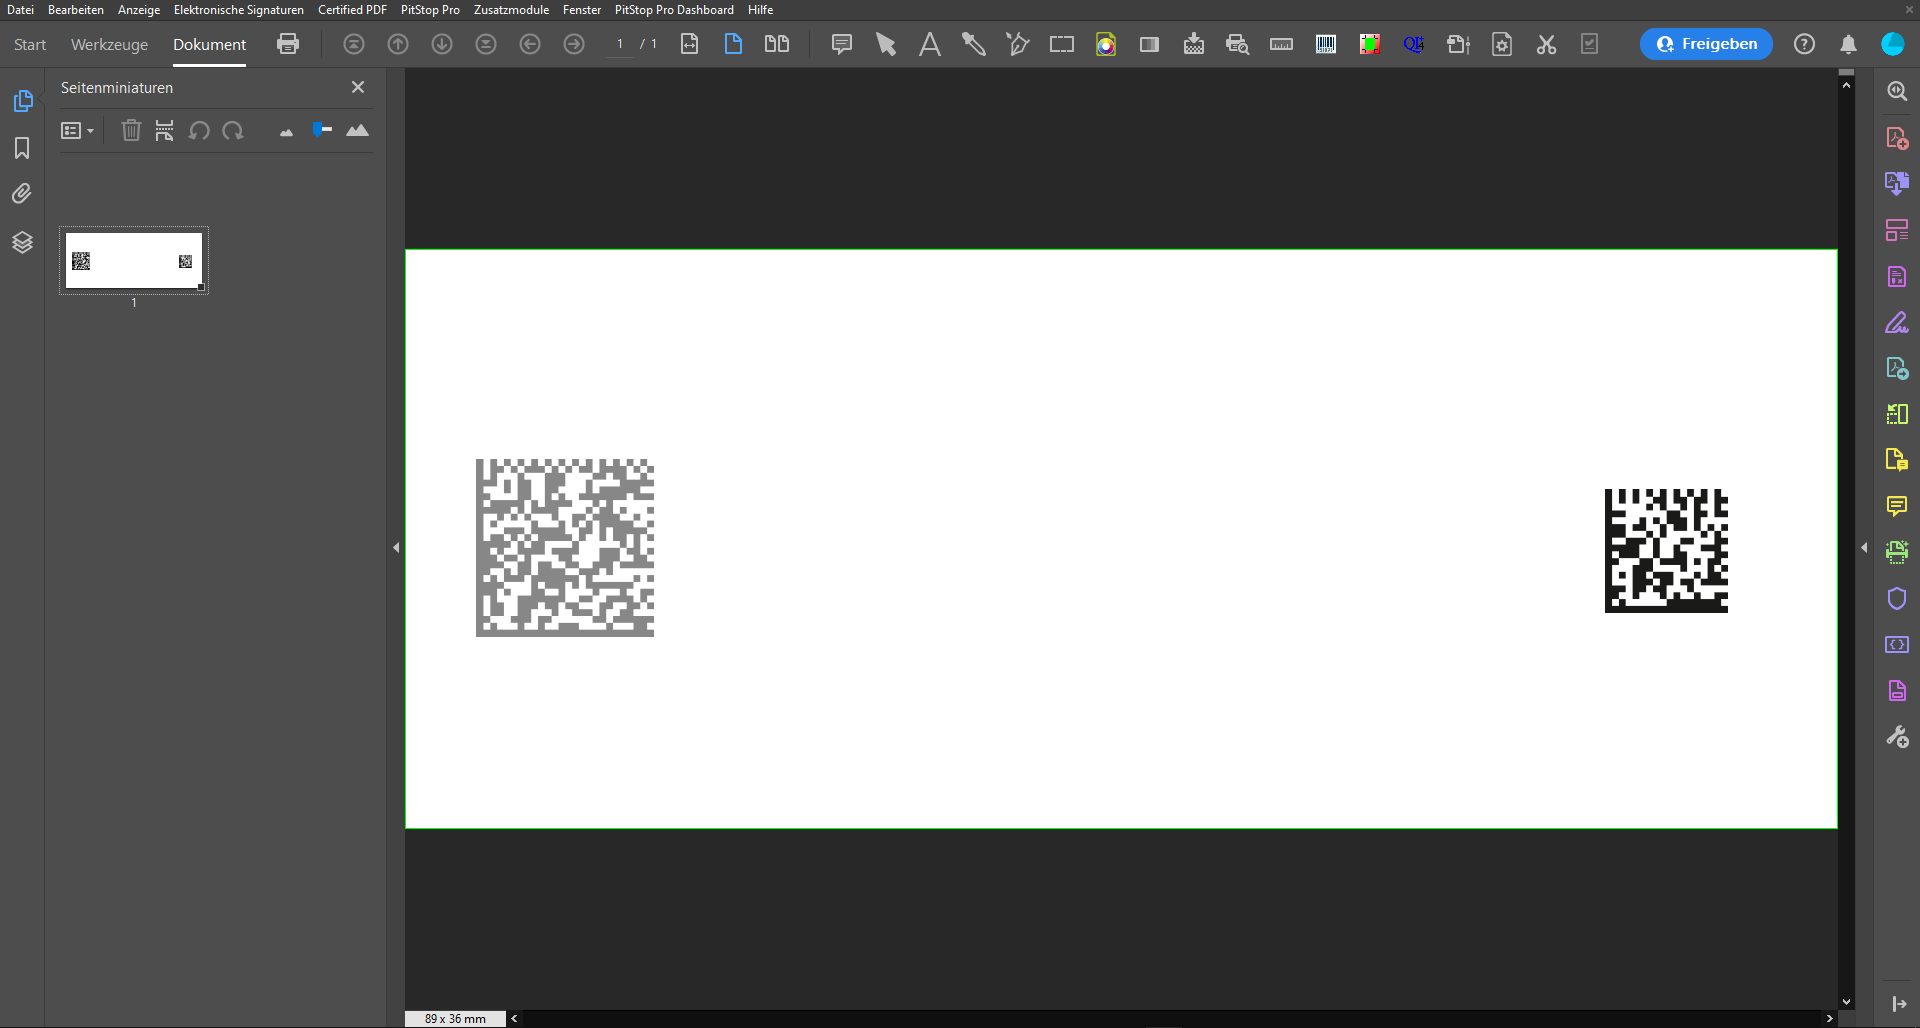
The left image is indexed and the right one is not.
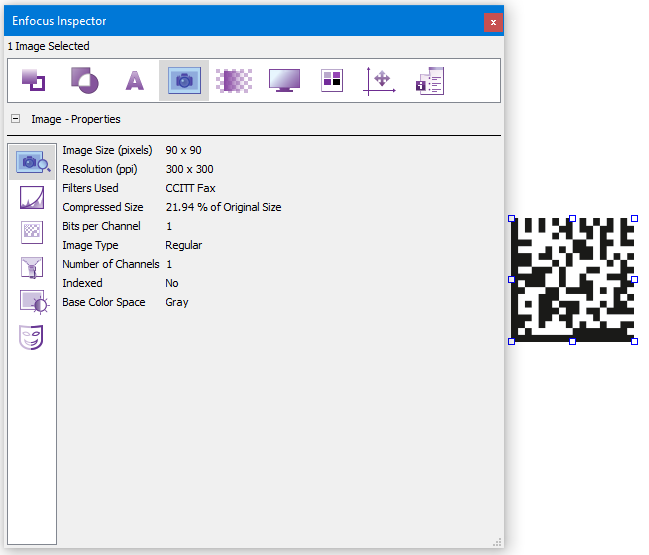
A true 1 bit image is black or white. No shades of gray.
Indexed colorspaces are a very useful way of reducing the amount of memory and space needed when they only have a certain number of repeating colour values. You define a limited set number of colour values (usually 2,4, 16 or 256) and define a color value for each. The image is then defined in terms of which colour value is used, not the actual color. This is much more compact in memory usage. It is best explained by an example.
Let’s image you have a image in CMYK colour. That means you need 4 bytes to describe the colour of each pixel. If the image had 4,000 pixels, that would be 16,000 bytes.
Now, imagine that the image only used 255 different colors. Instead of storing each pixel value, we could have a table with 256 entries (that is 1,024 bytes storing the 4 bytes for each CMYK color used) and then just store 1 byte per pixel to say which entry in the table to use. That would be a total of 4,000 bytes (for the colours) and 1,024 bytes for the look-up table. That is 5,024 bytes (quite a reduction from the 16,000 bytes.
And if we do not need 256 colours, we could do even better by squashing the bits together. If we only had 2 colours, we would still need 8 bytes for the look-up table but only a bit (one eighth of a byte) for each pixel to say which colour to use – a total of 508 bytes for everything!
This is what an indexed colorspace does. It allows us to store a table of colours in a look-up table and store the index, not the color. This reduces substantially the size of data needed. It works best with fewer colours so images with a huge number of colours do not gain as well and could actually take up more memory. But for appropriate images, 16,000 bytes to 508 bytes is a substantial size reduction.
nice research, thanks.
I've also noticed that the image in question is a non-indexed grayscale image. I wonder if that's the reason why it can't be reduced in halftone?
I tried converting the image to an indexed grayscale image but was unsuccessful.
The action "Convert images to indexed color space" does not convert the image.
Is there perhaps another way to convert the image?
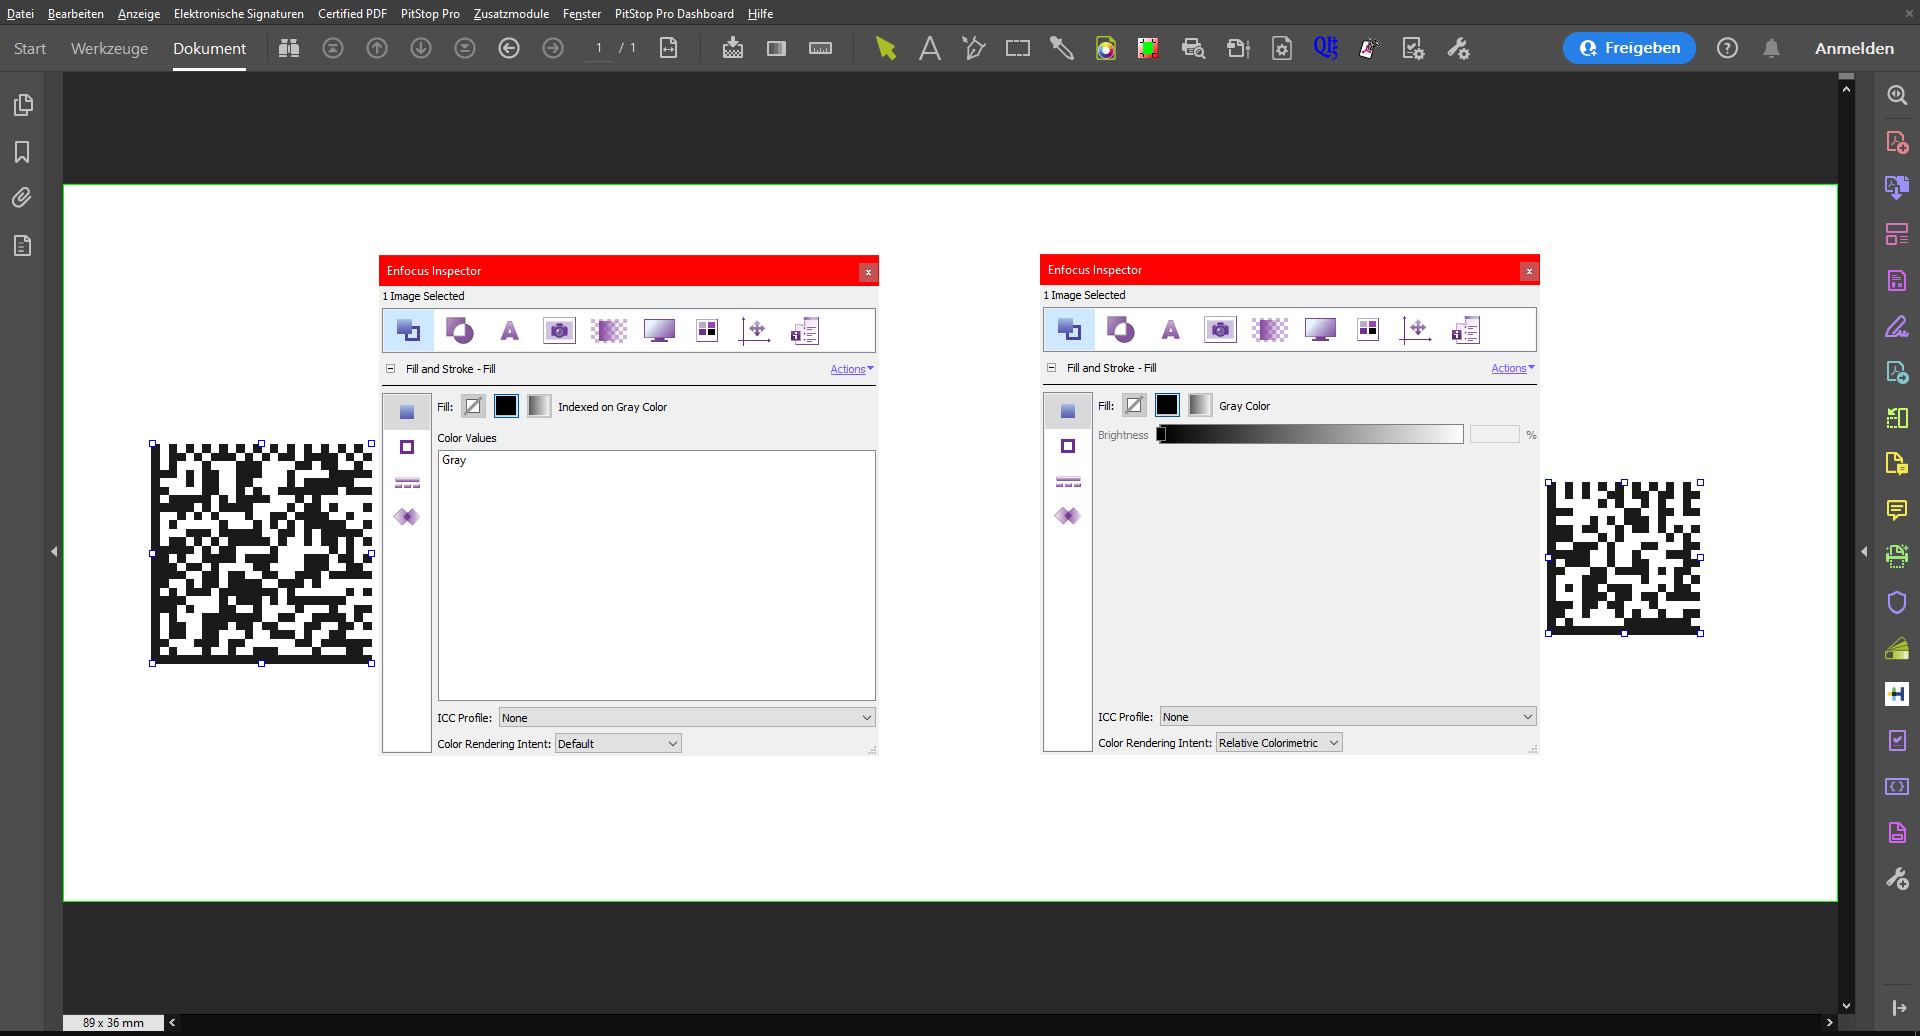
Another approach and one that works identically for both images is to change the alpha channel value.
Some attachment quota has been reached so I cannot add a screenshot here, but look at the Transparency - General tab in the Inspector, it is the slider at the top. I think it is self-explanatory.
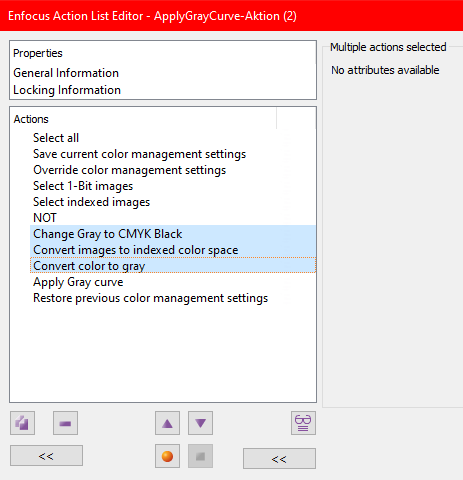
The reason is simple: these images are not grayscale images. One of them is a bitmap image and the other one is an indexed color image. For this particular file, given that there are no other images, you can use:
Select images
Change transparency
If there are other images that should not be selected, you can be more specific:
Select 1-bit images
Select indexed images
OR
Change transparency
or you can base yourself on the fact that they are black images and use this Action List:
Select images
Select black and white objects
AND
Change transparency
Since the non-indexed grayscale images cannot be changed in halftone, I first convert them to CMYK black and then to the indexed color space, after which I convert them back to grayscale.
Now as an indexed grayscale image the tone value can be reduced.
Since the conversion runs via the default color management, I temporarily switch it off for the action.